Closing up for the season isn’t glamorous. But knowing how to winterize above ground pool setups is the difference between a five-minute spring opening and a green, cracked mess in April. This guide walks you through the timing, the supplies, the exact steps, and the mistakes that quietly cost you money. You’ll knock it out in an afternoon.
The quick version
Want just the sequence? Once the water sits steady near 60°F, clean it, balance the chemistry, then add winter shock and algaecide. Lower the level below the skimmer, pull and store the pump and filter, plug the lines, float an air pillow, and cinch a tight cover over the top. Nine moves, one afternoon.
When should you close it?
Timing matters more than most people expect. Close too early, while the water’s still warm, and algae keeps eating your sanitizer all fall. You’ll open to a swamp.
Let the thermometer make the call, not the date on the calendar. When the water holds near 60°F (about 16°C) and swim season is clearly over, you’re good to go. Below that mark, algae basically stalls out. Some pros hold off until it stays under 65°F, and depending on your region that usually lands in late September into October.
Don’t rush the cover on a warm pool
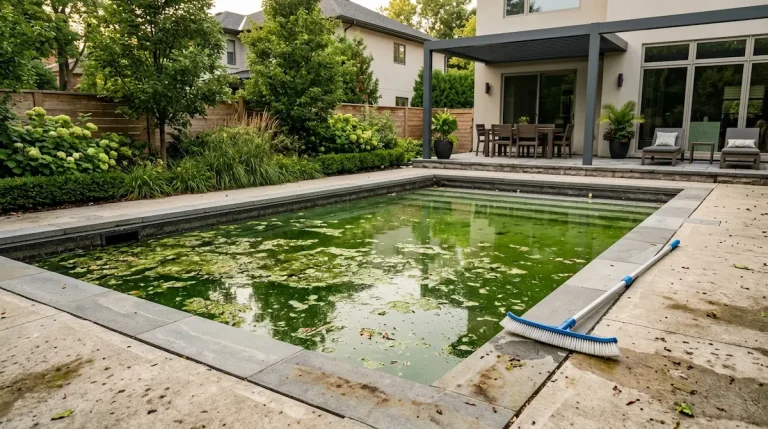
Warm water burns through chlorine fast. Trap that under a cover for four months and you’re gambling on a spring bloom. Patience here is free. A rushed opening isn’t.
What you’ll need
Grab everything before you start so you’re not sprinting to the store halfway through.
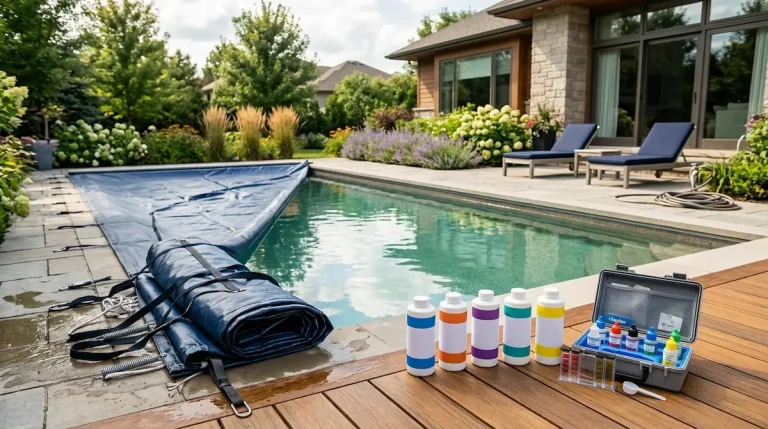
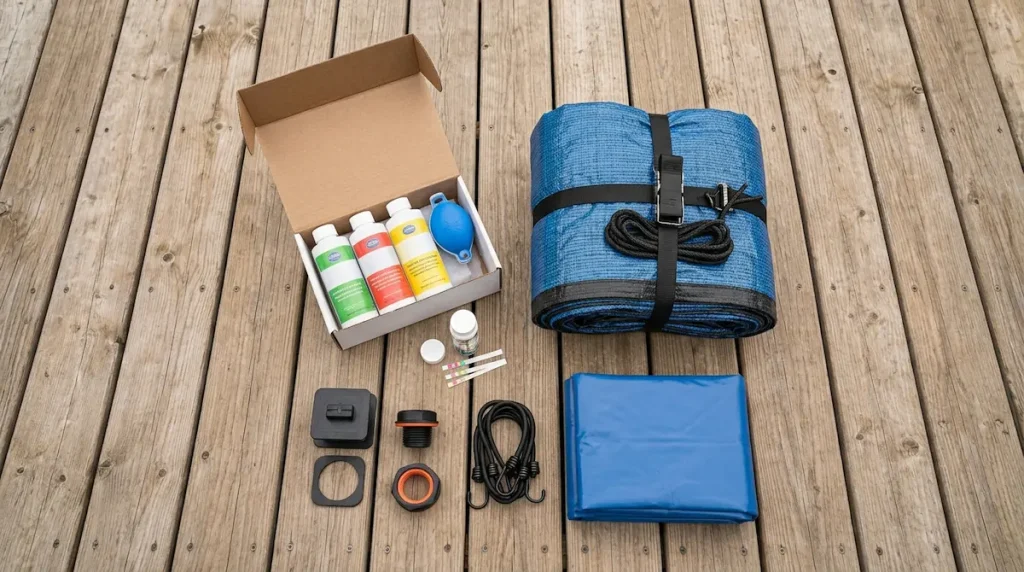
- A closing chemical kit: winter shock, algaecide, and a stain-and-scale or metal remover
- Winterizing plugs to seal the skimmer and return openings
- An air pillow matched to your pool’s size
- A snug winter cover, held by a cable and winch or by cover clips
- A submersible cover pump, or just a garden hose to siphon the level down
- Test strips, or a liquid test kit if you like more precision
How to winterize above ground pool, step by step
1. Clean it thoroughly
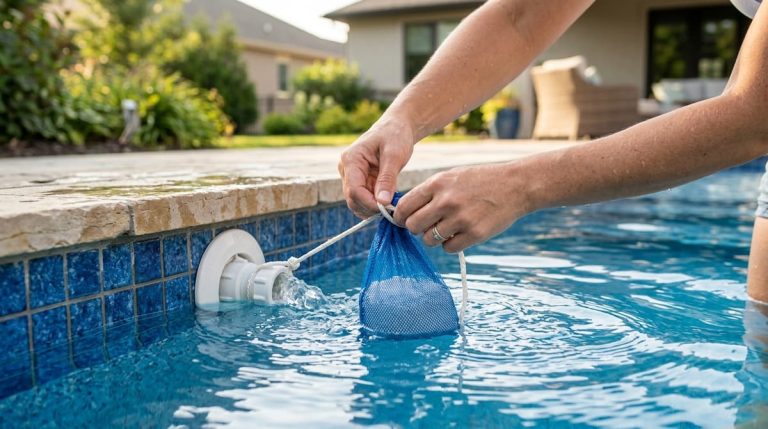
Skim the surface, brush the walls, vacuum the floor. Anything you leave behind becomes algae food over winter. A clean pool now buys you hours of your life back in spring.
2. Balance the water
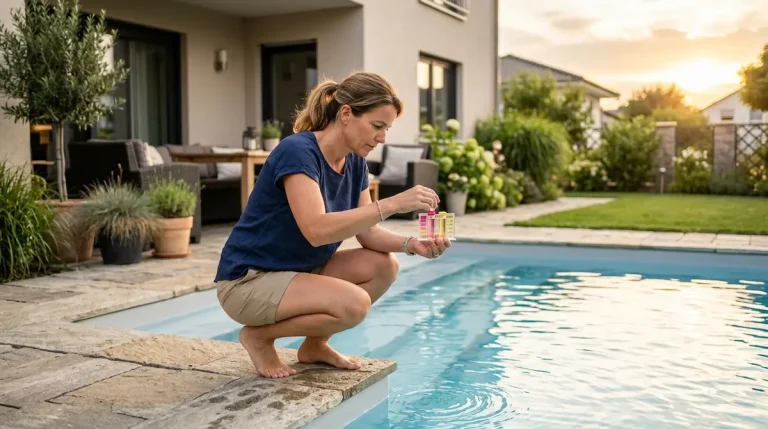
Sort the chemistry out before anything else goes in. You’re aiming for pH in the 7.4 to 7.6 band, total alkalinity somewhere from 80 to 120 ppm, and calcium hardness in the 200 to 400 ppm range. Get those dialed in and your liner and hardware ride out months of standstill without staining or scale. If one reading refuses to land, the fundamentals of pool water chemistry explain how to nudge each one back.
3. Add your winter chemicals
Start with shock, then follow with a winter algaecide and a stain-and-scale preventer. Let the pump run for a few hours so everything spreads evenly. One safety habit worth repeating: add the product to the water, not the other way around, and read every label first. The CDC covers safe storage and handling of pool chemicals if you want the official version (CDC: Healthy Swimming).
4. Lower the water level
Bring the level down to roughly 4 to 6 inches under the skimmer. That’s enough to keep ice out of the skimmer and the lines behind it. Stop there, though. Empty an above-ground pool completely and the liner can shrink, and with no water pushing back against them, the walls can fold inward.
5. Drain and store the equipment
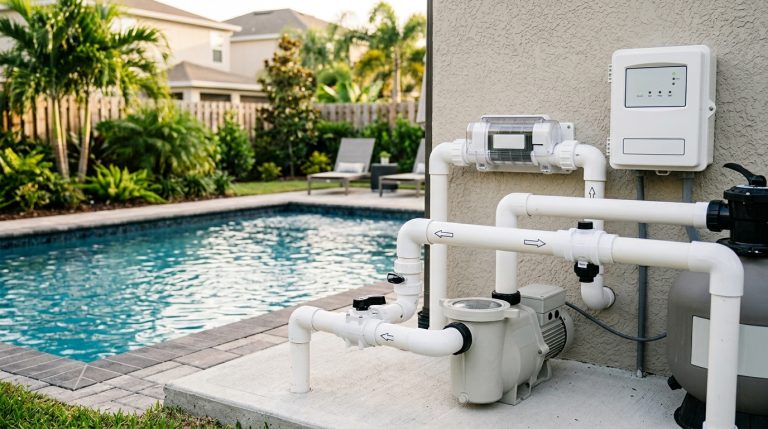
Unhook the hoses running into and out of the pump and filter. Pop the drain plugs and let every bit of water run out. Whatever stays trapped will freeze, swell, and split the housing open. Tuck the pump, filter, and each little plug or fitting somewhere dry that never dips below freezing. Misplace one small plug over winter and spring turns into a scavenger hunt.
6. Plug the lines, add the pillow, cover up
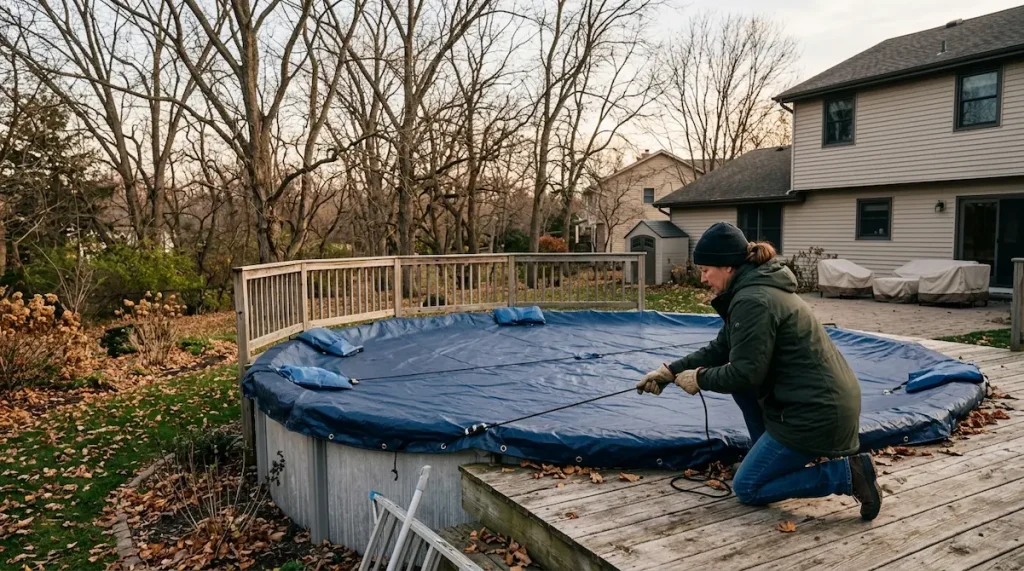
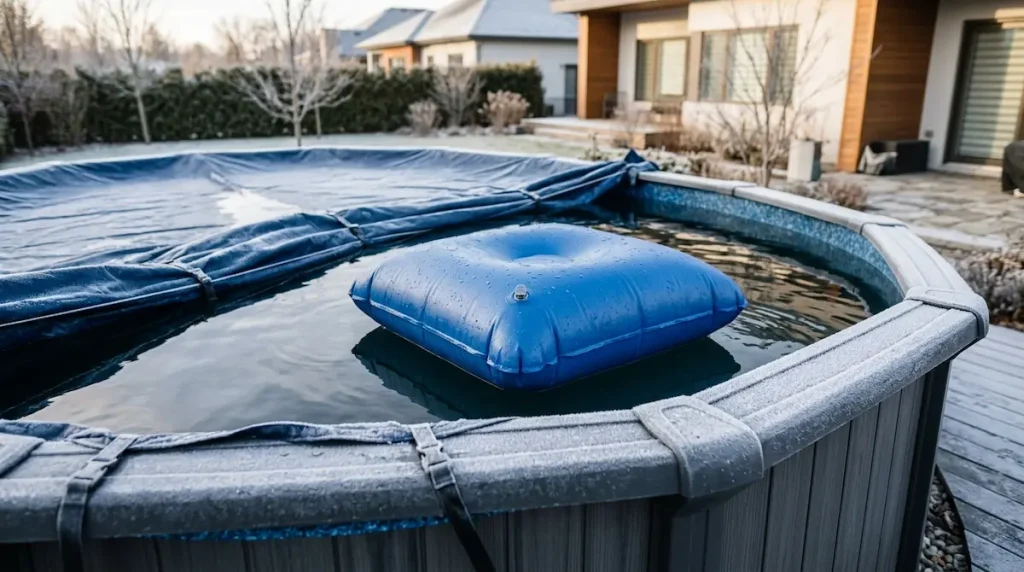
Cap the return and skimmer openings with winterizing plugs. Set an air pillow adrift in the middle of the pool. As the surface ices over, that pillow takes the squeeze instead of your walls, and that’s the whole point of it. Draw the cover tight, cinch it down, and you’ve finished. The same core steps to winterize pool carry over to inground setups, just with a bit more plumbing to handle.
Should you drain it, or leave the water in?
This is the question that trips up almost every first-time owner. Leave the water in. It braces the walls and gives the cover something to rest against under snow. How far you drop it comes down to your climate.
| Your winter climate | Water level below skimmer | Air pillow? | Cover type | Best for |
|---|---|---|---|---|
| Mild (freezes only a few nights) | 3 to 4 inches | Optional | Solid or mesh winter cover | Southern yards that rarely ice over |
| Freezing (regular frost and ice) | 4 to 6 inches | Yes | Reinforced solid winter cover | Most above-ground owners |
| Harsh (long, deep freeze) | 4 to 6 inches | Yes, and check it mid-winter | Heavy-duty cover, watch snow load | Northern US and Canada |
What skipping steps actually costs you
Winterizing feels like a chore you could half-skip. Then spring shows up with the bill. Most guides leave this part out, so here’s the real math on cutting corners.
| Step you skipped | What tends to happen | Rough fix cost |
|---|---|---|
| Left the water unbalanced | Staining and scale etched into the liner | Liner replacement, hundreds to low thousands |
| Didn’t lower water or plug lines | Cracked skimmer or return fitting | Part plus labor, around $100 to $300 |
| Skipped the air pillow | Ice stresses the cover and walls | Torn cover, roughly $100 to $250 |
| Closed too early, no algaecide | Green bloom at spring opening | Extra shock, filter runtime, a lost weekend |
These are rough ballparks. Prices swing by brand, region, and when you buy, so check current local pricing before you budget.
What does it cost to winterize?
Go the DIY route and you’re mostly paying for a chemical kit and a solid cover. Hand it to a pro and the bill climbs, though above-ground pools still close cheaper than inground ones because there’s simply less water and plumbing to deal with. For the full year-round picture, a complete pool maintenance cost breakdown lays it all out.
| Option | Typical cost | Best for |
|---|---|---|
| DIY (kit + cover + pillow) | From about $75 to $200 in supplies | Hands-on owners who don’t mind an afternoon |
| Professional closing | Roughly $150 to $400, around $250 on average | Owners short on time or tools |
Treat these as starting points and check current prices in your area, since they vary by provider, region, and season.
Common questions
Do you leave water in an above-ground pool over winter?
Yes, always. Bring it down a few inches below the skimmer, but never empty it out. That remaining water braces the walls and gives the cover support once snow and ice pile on.
Do above-ground pools freeze in winter?
They do. The top layer turns to ice, and that’s no problem once you’ve prepped correctly. A lowered water level and an air pillow soak up the pressure, so the walls and liner come through intact.
Do you have to cover an above-ground pool?
It isn’t strictly required. Still, a cover blocks leaves and debris and slashes your spring cleanup. Skip it and you’ll be treating the water and skimming all season long.
Can you winterize without draining any water?
Mostly, yes. Plug the skimmer and returns and you can leave the level higher than usual. The one thing you can’t skip is disconnecting the hoses, so no water freezes inside the equipment.
My recommendation
Match your effort to your winter. If you get real freezes, don’t skip the air pillow or the equipment drain, because those two steps prevent the priciest repairs on the list above. Wait for that 60°F water, spend the afternoon doing it once, and do it properly. Come spring, you’ll pull the cover off a clear pool instead of a science experiment.