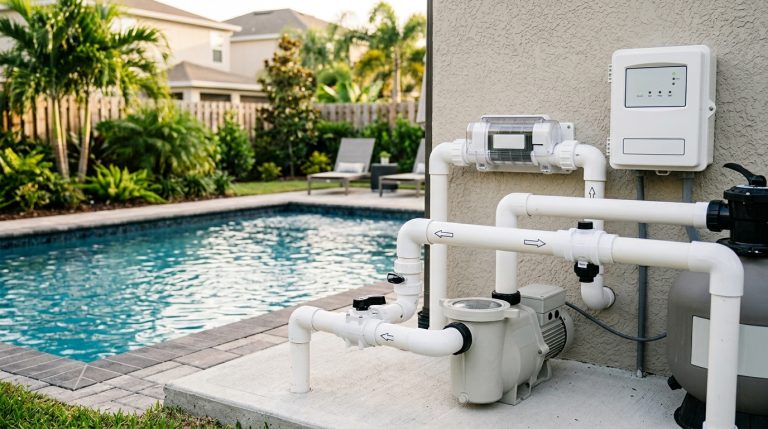
Your first pool closing is nerve-wracking. You’ve heard the horror stories: cracked pipes, a green swamp in April, a repair bill that stings. Knowing how to winterize pool water, plumbing, and equipment before the first hard freeze is what keeps all of that from happening. Do it right once, and spring opening becomes a quick reset instead of a weekend rescue mission.
This guide walks you through closing an inground pool for the season, from timing to the last plug. Running an above-ground setup instead? The steps overlap, but the water level and cover rules differ, so check how to winterize an above-ground pool for the specifics.
The short version: closing a pool in 6 moves
Short on time? This is the whole process at a glance. The rest of the guide fills in the details.
- Test and balance the water a few days out, especially pH, alkalinity, and calcium hardness.
- Deep clean: skim, brush, vacuum.
- Lower the water level below the skimmer for your inground pool setup.
- Clear the plumbing, blow out the lines, and plug the returns before freeze weather hits.
- Add winter chemicals in the right order.
- Cover the pool and check it through the season.
When should you close your pool for winter?
Let the water temperature make the call, not the date on the calendar. A good trigger is several steady days with pool water at 65°F or colder. Once the water cools to that range, algae slows down and your sanitizer has a better chance of lasting under the cover.
Too early is a real mistake
Closing while the water’s still warm burns through your sanitizer fast, and you’ll likely pull back a green cover in spring. Wait for the cool-down. If your area gets hard freezes, don’t wait so long that the equipment is exposed to freezing nights. Get the pool closed before temperatures start sliding toward 30°F, because water trapped in the equipment can freeze, expand, and crack parts you really don’t want to replace.
| Water temperature | What to do |
|---|---|
| Consistently below 65°F | Start your closing prep. Algae slows enough that your winter chemicals have a better chance. |
| Around 60°F or lower | Best time to finish the closing. |
| Nights nearing 30°F | Close before this. Freeze risk is real. |
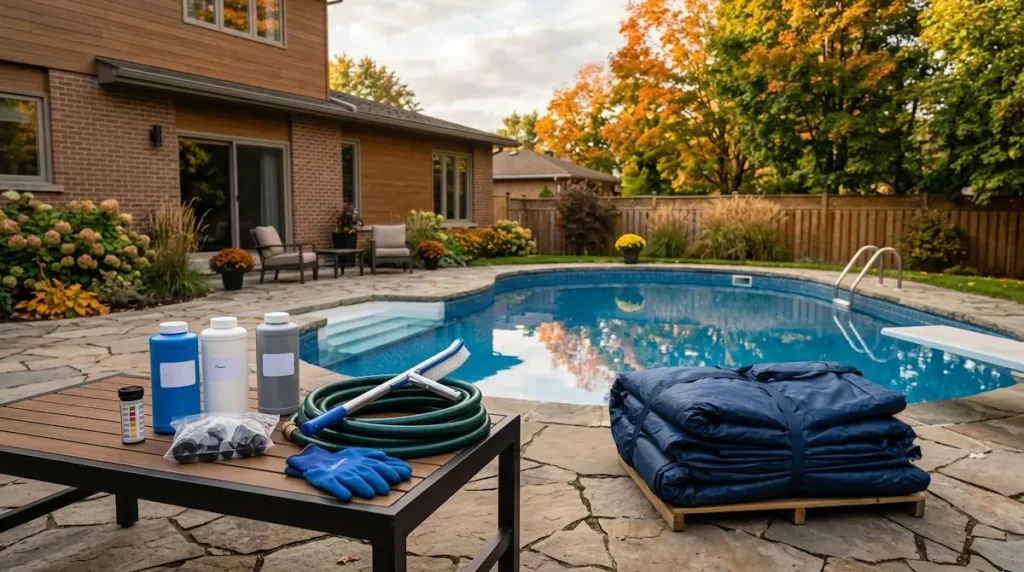
What you’ll need before you start
Gather everything first. Nothing kills momentum like a half-drained pool and a missing plug.
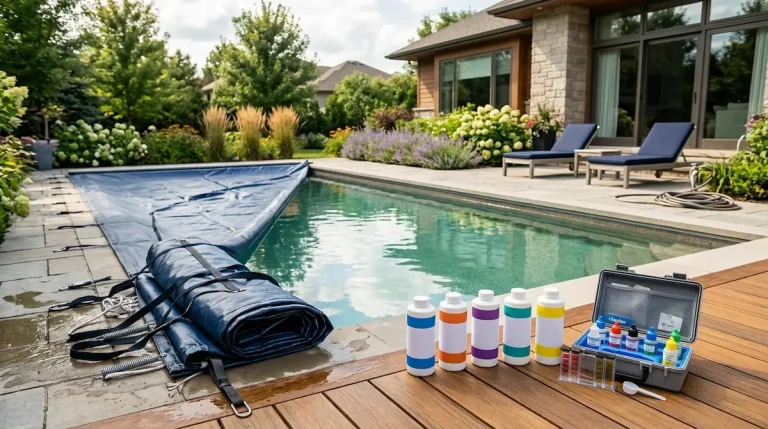
- Test strips or a drop-style water test kit
- Balancing chemicals for pH, alkalinity, and calcium hardness
- Pool shock, stain and scale preventer, winter algaecide, and a slow-release winter float
- Skimmer and return plugs, plus non-toxic pool antifreeze
- A submersible pump and a shop vac or air compressor for the lines
- A winter cover that actually fits
If shopping piece by piece feels like a headache, a bundled pool winterizing kit covers the core chemicals in one box and takes the guesswork out.
How to winterize pool water, lines, and equipment step by step
This is the heart of it. Follow the order. Skipping around is how pipes crack and stains set in.
Step 1: Balance the water first
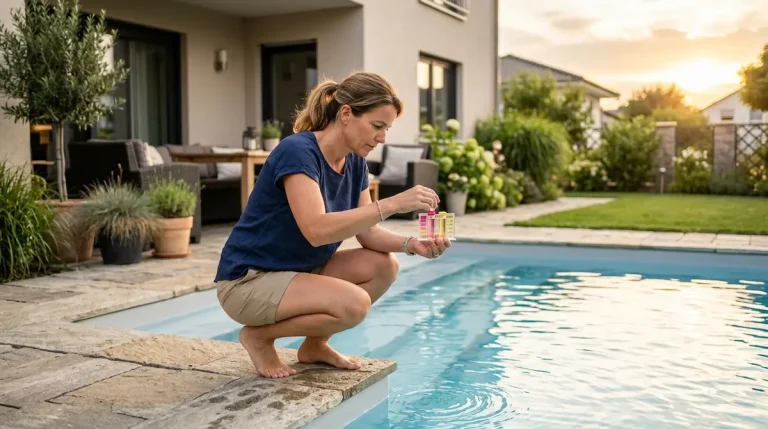
If the water sits out of range all winter, it has months to scale, stain, or irritate the pool surface. Test and correct the big three before anything else. Add balancers a couple of days ahead when you can, then give each product time to circulate before adding the next one. Want the full breakdown on levels? Go deeper on water balance before you start dosing.
| Level | Target range before closing |
|---|---|
| pH | 7.4 to 7.6 |
| Total alkalinity | 80 to 120 ppm |
| Calcium hardness | 200 to 400 ppm |
Step 2: Clean it like you mean it
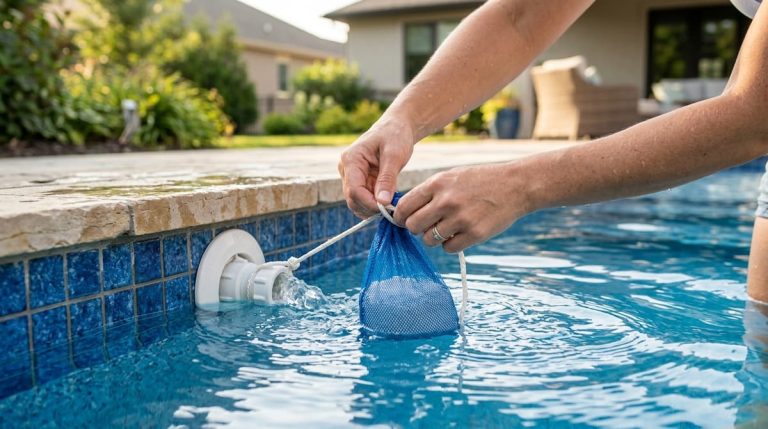
Skim the surface, brush the walls and steps, then vacuum the floor. A dirty pool eats sanitizer over winter and gives algae a head start. Ten extra minutes with the brush now can save you hours of cleanup when the cover comes off.
Step 3: Lower the water level
Use a submersible pump to drop the water below the skimmer and returns. If you plan to blow out the lines, about 4 to 6 inches below the skimmer is usually enough. Be careful with fiberglass and vinyl-liner pools. Leaving too little water can stress the shell or pull at the liner, so follow your builder’s guidance before you drain more than needed.
Step 4: Drain and protect the plumbing
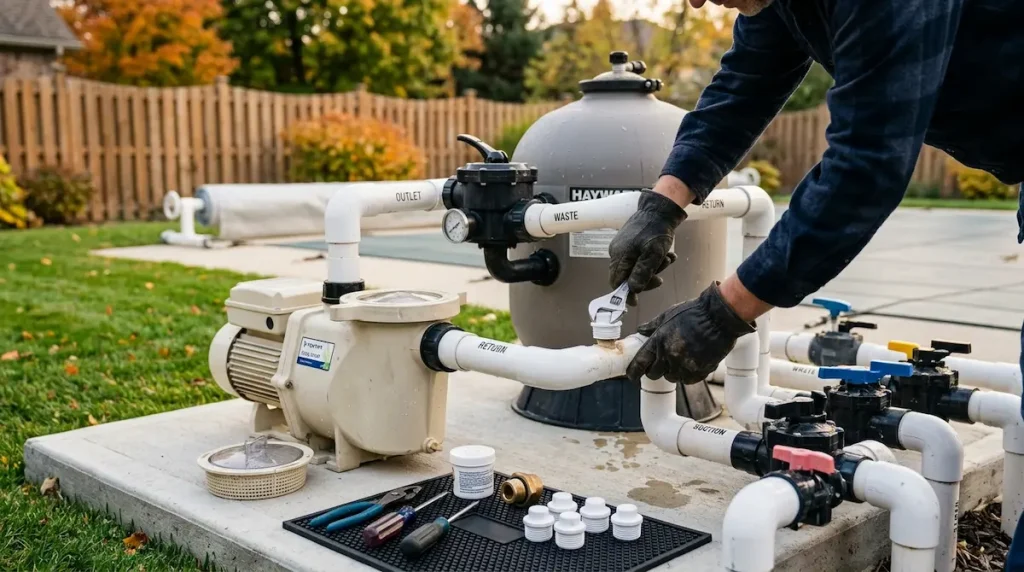
This is the step people rush, and it’s the one that cracks pipes. Pull the drain plugs from the pump strainer housing, the pump volute, the filter tank, and the heater. Put those plugs in the pump basket so they don’t disappear before spring. Then blow out the lines, cap the returns with winterizing plugs, and add non-toxic pool antifreeze at roughly one gallon per 10 feet of pipe. Seal the skimmer last.
Winter pool chemicals and the order to add them
Order matters more than most guides let on. Dump everything in at once and you’ll waste product or cloud the water. Space it out like this.
| Chemical | When to add | Why it matters |
|---|---|---|
| Pool shock (oxidizer) | About 2 days before closing | Kills bacteria and burns off contaminants |
| Stain and scale preventer | Roughly 1 day before | Blocks metal stains and scale buildup |
| Winter algaecide | Just before covering | Helps limit algae while the pump sits idle |
| Winter float or pill | Just before covering | Provides a slow, steady sanitizer release through the season |
| Pool antifreeze | In the lines during blowout | Protects plumbing from freeze damage |
One rule matters more than the schedule: read every label, and keep each chemical in its own container instead of mixing products in the same bucket. When in doubt, follow the closing standards from the Pool & Hot Tub Alliance.
Cover it, then keep half an eye on it
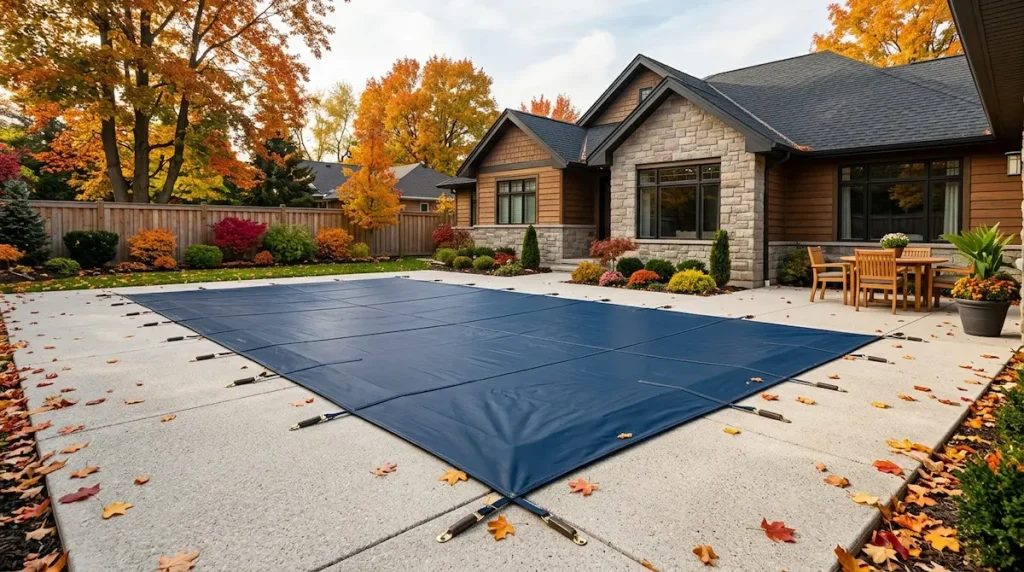
Once the water’s low, the lines are clear, and the chemicals are in, cover the pool. The cover’s job is simple: block sunlight, leaves, and the organic mess algae feeds on. Loose or torn covers sag, collect water, and let debris slip through. If yours has seen better days, weigh your options in the guide to winter covers.
Closing isn’t fully hands-off. If you kept any water in the system, run the pump 2 to 4 hours a day and let it run through any freeze, unless your equipment setup or local winterizing method says otherwise. Peek under the cover now and then, and retest the water every few weeks to confirm there’s still sanitizer working.
Common winterizing mistakes and what they cost you
Most winter damage traces back to one skipped step. The useful question is not just what went wrong, but what that mistake can cost you later.
| The slip-up | What can happen | Rough cost to fix |
|---|---|---|
| Lines left full of water | Cracked pipes, skimmer, or pump | Often a serious plumbing repair; check current local repair rates before budgeting |
| Closed too early in warm water | Algae bloom, green spring pool | Extra shock, extra filtration time, and hours of cleanup |
| Skipped water balancing | Stains and scale on the surface | May require stain treatment, scale treatment, or professional surface work; prices vary by region and surface type |
| Cheap or loose cover | Debris, sagging, safety hazard | Possible cover replacement; check current prices by cover type and pool size |
| Never checked all winter | Hidden leak or algae takes hold | Bigger cleanup or repair bill come spring |
How much does it cost to winterize a pool?
Doing it yourself, your main costs are the winter chemicals, antifreeze, plugs, and a cover if yours needs replacing. Hiring a service costs more, and the price swings with your region, pool size, equipment setup, and timing. As a broad planning range, many homeowners should expect a professional closing to land in the low-to-mid hundreds, but check current local pricing before you budget around that number. If you’re planning the whole year, not just closing day, factor in your full-season upkeep too.
Honestly? For a standard inground pool, the DIY route is very doable your first time if you’re patient and follow the order above. Save the pro for the year you’re short on time, the plumbing is complicated, or freeze damage would be an expensive gamble.
Frequently asked questions
Can I winterize my pool myself?
Yes, and plenty of owners do. The tricky parts are blowing out the lines and getting the water balance right. Nail those two and the rest is mostly cleaning, dosing, and covering.
Do I have to drain my pool completely for winter?
No. Fully draining a pool is risky and rarely needed. You only lower the level below the skimmer and returns. With no water weight inside it, the shell can shift, lift, or crack under pressure from the ground.
What temperature should the water be before I close?
Aim for water that’s consistently at or below 65°F, and ideally closer to 60°F. That’s cold enough to slow algae so your winter chemicals have a better chance of lasting.
Do I really need pool antifreeze?
In freeze-prone climates, yes. Pool-rated, non-toxic antifreeze gives leftover water in the plumbing room to freeze without splitting a pipe you can’t even see.
How often should I check the pool over winter?
A quick check every couple of weeks is usually enough. Glance under the cover, look for stains or color changes, and retest the water every 2 to 4 weeks to confirm there’s sanitizer left.
Closing up, the smart way
Winterizing rewards patience over speed. Balance the water, clean it well, protect the plumbing, dose the chemicals in order, then cover and check. That sequence is what stands between you and a cracked pipe. When the weather warms back up, walk through the reverse process with our reopening walkthrough and you’ll be swimming again in no time.